
What you'll need:
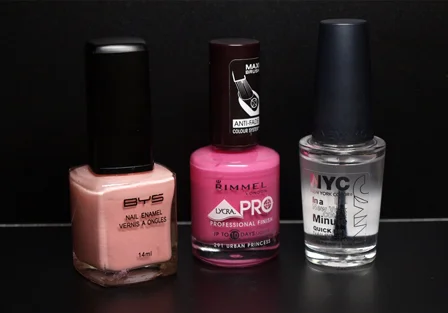
Two color polishes and a topcoat. You can choose colors that compliment or go bold and pick two that clash. Experiment with different combinations and see what works.

A sponge, a plastic sheet and toothpicks.

Step 1: Using the lightest of the two colors, paint your nails and wait for it to dry completely.
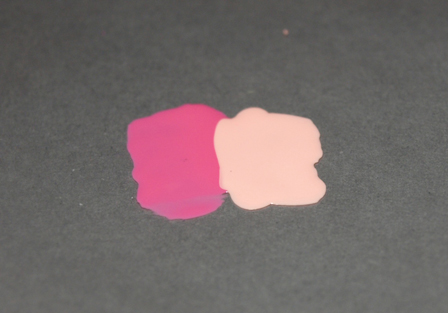
Step 2: On a flat surface, paint a generous amount of the colors right next to each other on to the plastic. Make sure they're just about touching at the edges.

Step 3: Using a toothpick, swirl the two colors together in where they meet. The area where they mix will determine the length of the graduation. So if you want a long graduation, mix a bigger section of the colors, if you want less of a fade, just mix them together a tiny bit.

Step 4: Take your sponge and dab it directly down on to the polish a few times.
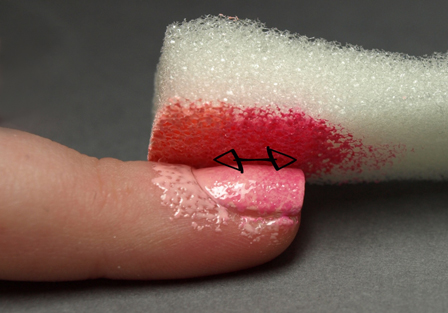
Step 5: Dab the sponge directly down on to your nail. Keep dabbing lightly and moving it very slightly up and down your nail.
(You can repeat this step as many times as you need to. Just make sure each layer is completely dry before sponging again otherwise you will start smudging the bottom layers and ruin the whole thing.)

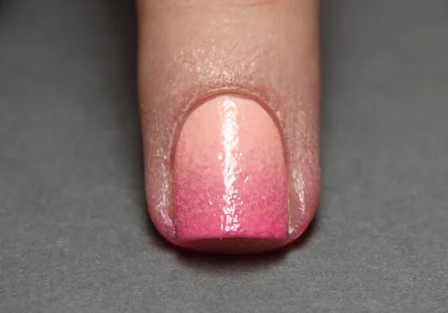
Step 6: Add a topcoat. Or two or three! The sponging makes this mani very bumpy so you may need a couple of topcoats just to even out the surface.

Step 7: Clean up all the excess using a brush dipped in acetone or polish remover. I use a Q-tip dipped in remover for the big bits I can reach on my skin, then a small brush in pure acetone as I get closer to my nail and to make a crisp line near the cuticles.
All finished!


